4 minute read
How to change the DNS provider to deSEC
We recommend using deSEC instead of CloudFlare. DeSEC is dedicated to privacy.
If you have first tied your domain to CloudFlare and now you want to change providers, this article is for you.
Attention, the process is quite complicated, and if you feel that something goes wrong, you can feel free to write us in the chat.
During this process, your services will be temporarily unavailable. Also, write down the IP address of your server, as you will not be able to access it by domain name.
Transferring the nameserver
A nameserver is a server that translates your domain (letters) into a server IP address (numbers).
-
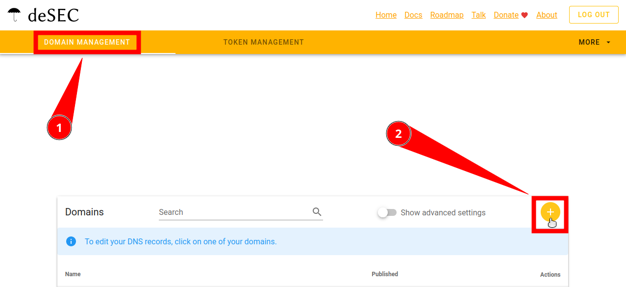
Register with deSEC.
-
On the “domains” page, click on the “plus” button.
-
Enter your domain.
-
Copy “nameservers”.
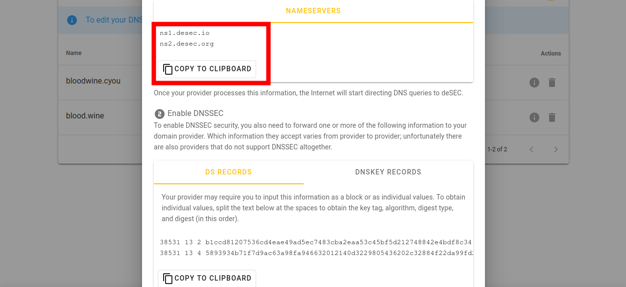
Now go to the website of the domain registrar from whom you purchased the domain. The actions will be similar for all providers, we will show using Porkbun as an example.
-
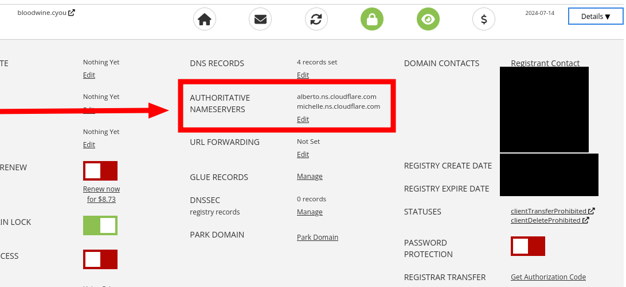
Go to your domain control panel.
-
Find there the “Authoritative nameservers” parameter.
-
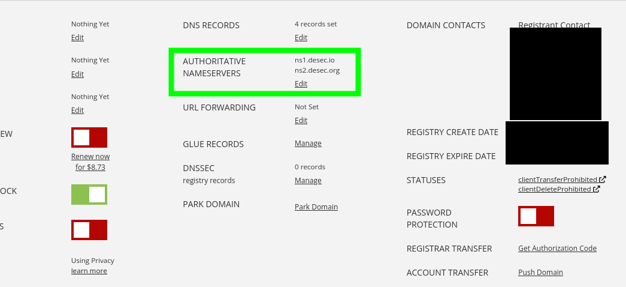
Replace the current addresses with those that we copied from deSEC in the instructions earlier.
-
Save the changes.
Getting the deSEC token
-
Log in here.
-
Go to the Domains page.
-
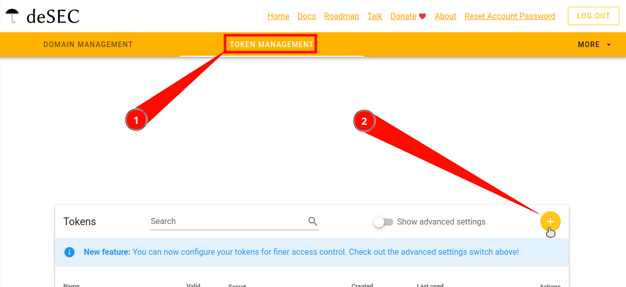
Go to the Token management tab.
-
Click on the round “plus” button in the upper right corner.
-
“Generate New Token” dialogue must be displayed. Enter any Token name you wish. Advanced settings are not required, so do not touch anything there.
-
Click on Save.
-
Make sure you save the token’s “secret value” as it will only be displayed once.
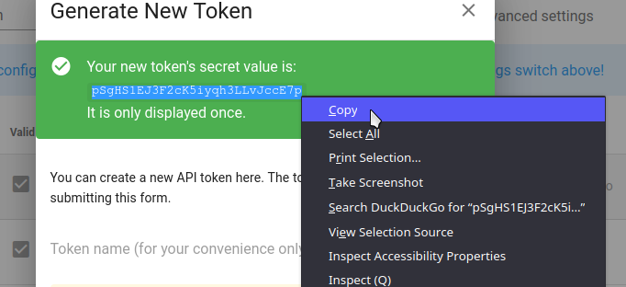
- Now you can safely close the dialogue.
Migrating records
Log into both CloudFlare and deSEC.
On the deSEC website
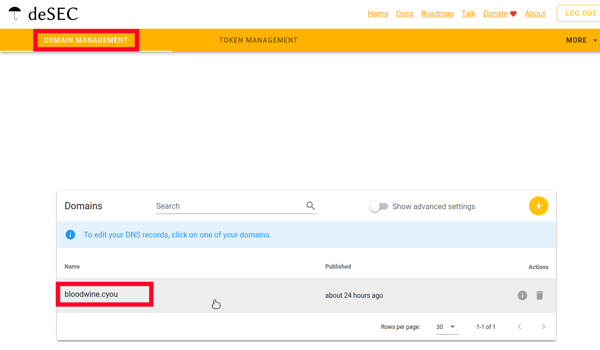
Follow the link in the “Domain Management” panel, click on your domain.
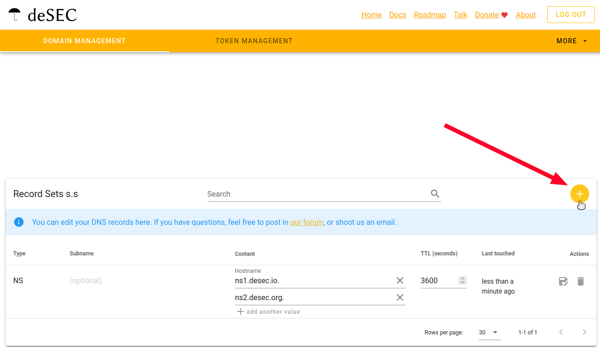
Now you can add new entries to it using the “Plus” button.
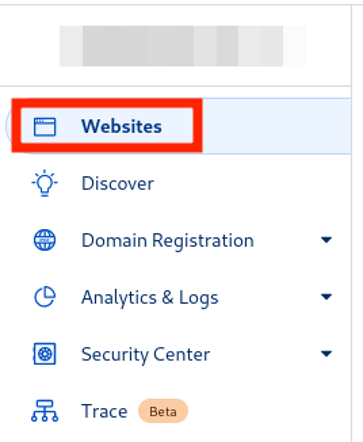
On the CloudFlare website
Follow this link and go to the settings of your domain, which is located under the “Websites” section.
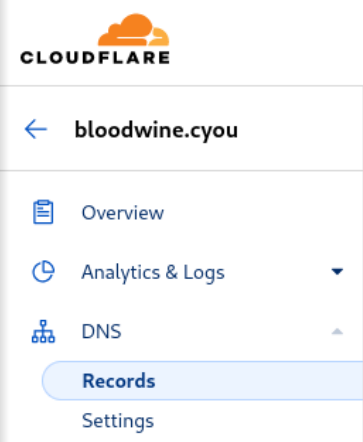
Select your domain.
Now go to “DNS”, then “Records”.
First record: api
Based on the example in the screenshot, transfer the parameters of your “api” record (look at the “Name” column) according to their colors.
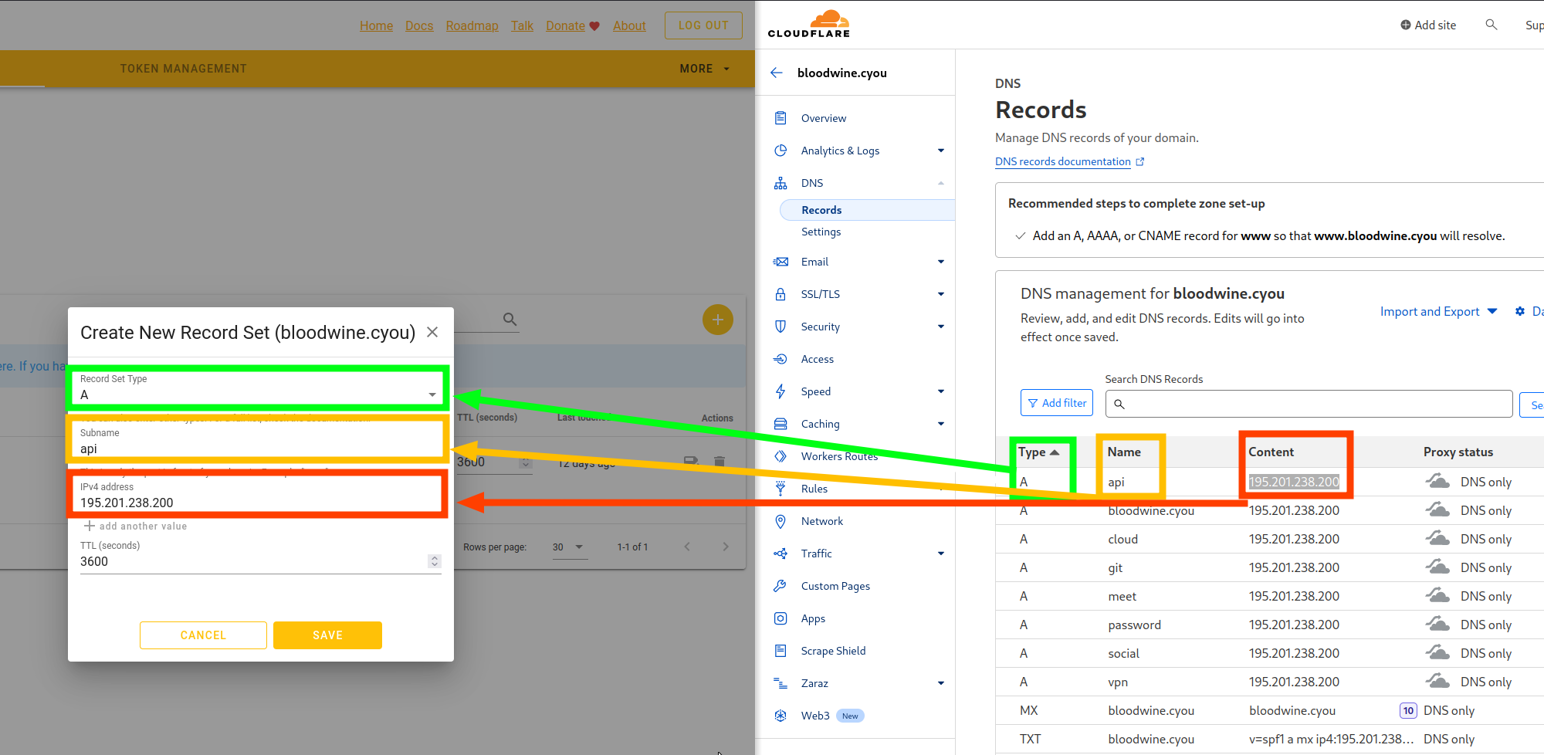
On the left side of the screenshot is deSEC, and on the right side is Cloudflare. You need to sequentially transfer each parameter of this record.
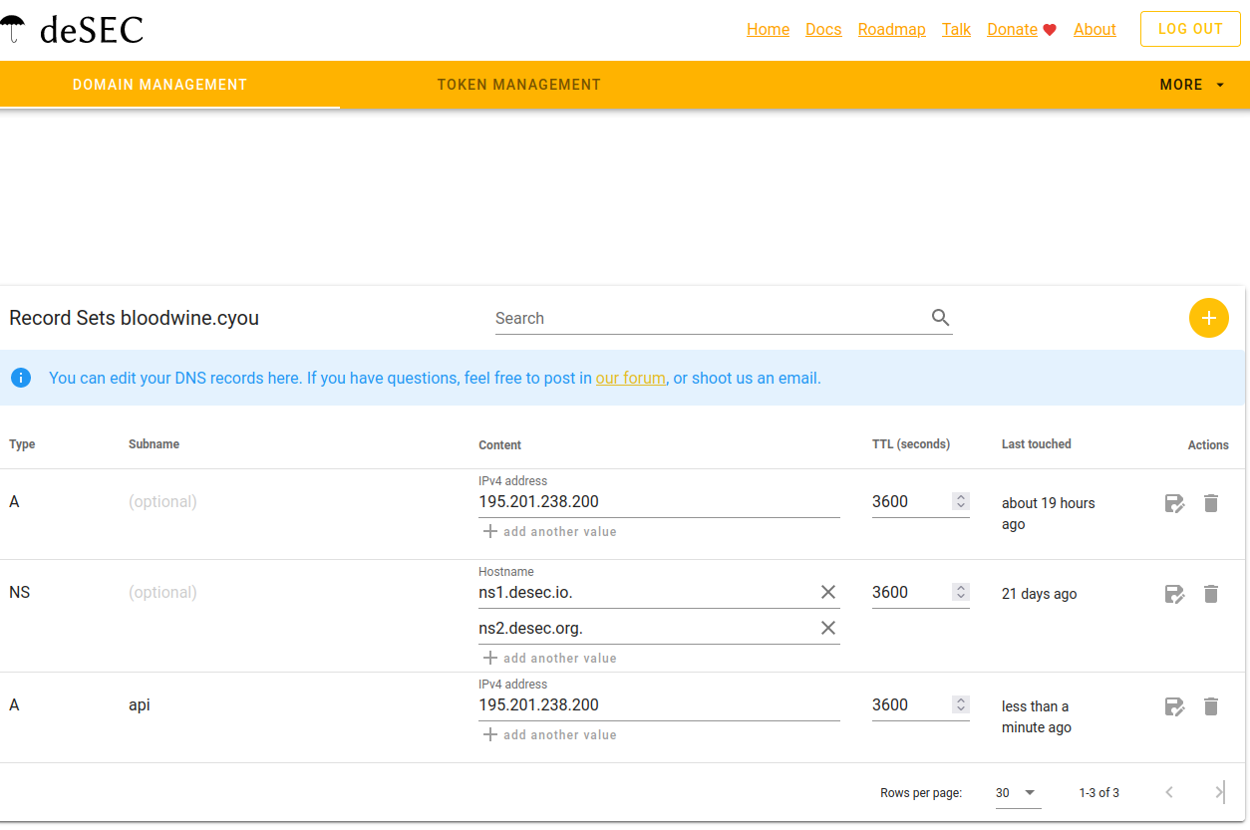
Second record: root
Create a new record of type “A”, in the “IPv4 address” field, enter your server address, which you have already entered in the “Content” field of the previous record.
You don’t need to transfer all the records! You have created two records, and the third one has already been created for you.
Connecting to the server
To perform the following actions, you will need to connect to the server via SSH with administrator privileges. Basic understanding of the command line is recommended ;)
You can find instructions on how to connect here.
After connecting to the server, enter the following command:
nano /etc/nixos/userdata.json
You are in a terminal text editor called “nano”.
You are editing the file /etc/nixos/userdata.json, and you can use the arrow keys to navigate.
Find the following lines in the file:
"dns": {
    "provider": "CLOUDFLARE",
    "useStagingACME": false
},
Replace:
"provider": "CLOUDFLARE",
with
"provider": "DESEC",
Now press CTRL+X, and then key Y.
Then edit another file:
nano /etc/selfprivacy/secrets.json
Find the following:
"dns": {
    "apiKey": "SECRET-HERE"
},
Remove your old token from CloudFlare and paste the copied token from deSEC. (If CTRL+V doesn’t work, try SHIFT+CTRL+V)
"apiKey": "Your deSEC token",
It should now look like this:
"dns": {
        "apiKey": "Your deSEC token"
    },
Press CTRL+X, then Y to save the file.
If the file has been saved and you have successfully exited the text editor, enter the command:
systemctl start sp-nixos-rebuild.service
It will start the rebuild of your system with new options. You may close the console now.
Reconfiguring the application
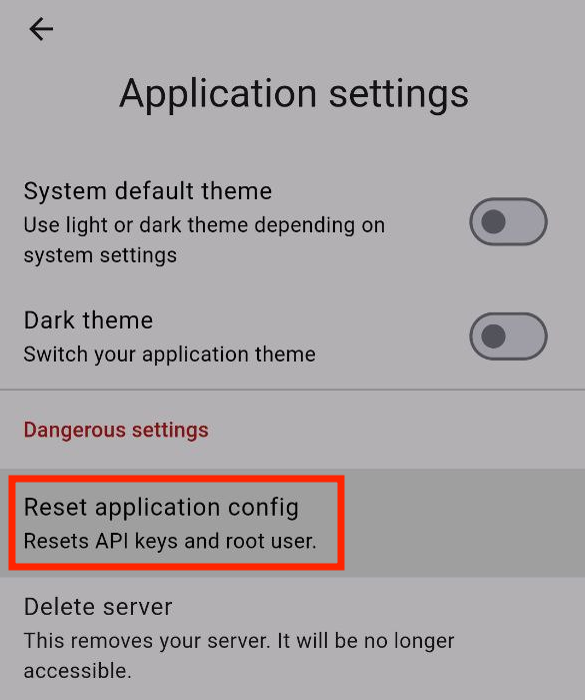
You will have to reset the application config to work properly. Don’t forget to create a recovery key and save it in a safe place (password manager).
How to reset the application:
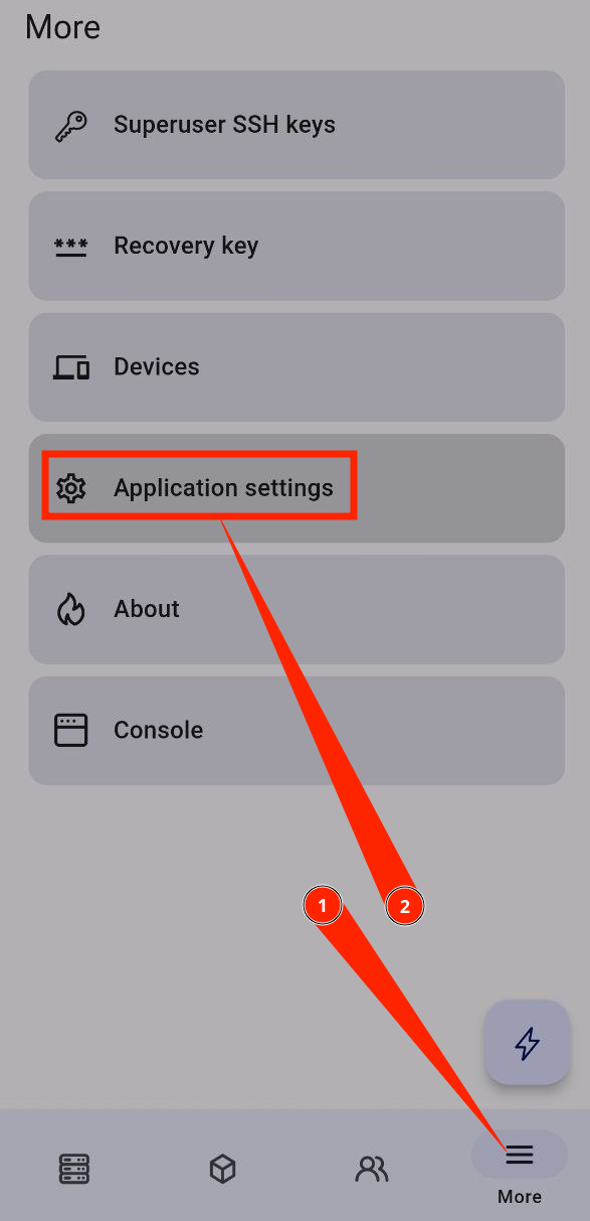
Go to Application Settings.
Press “Reset application config”.
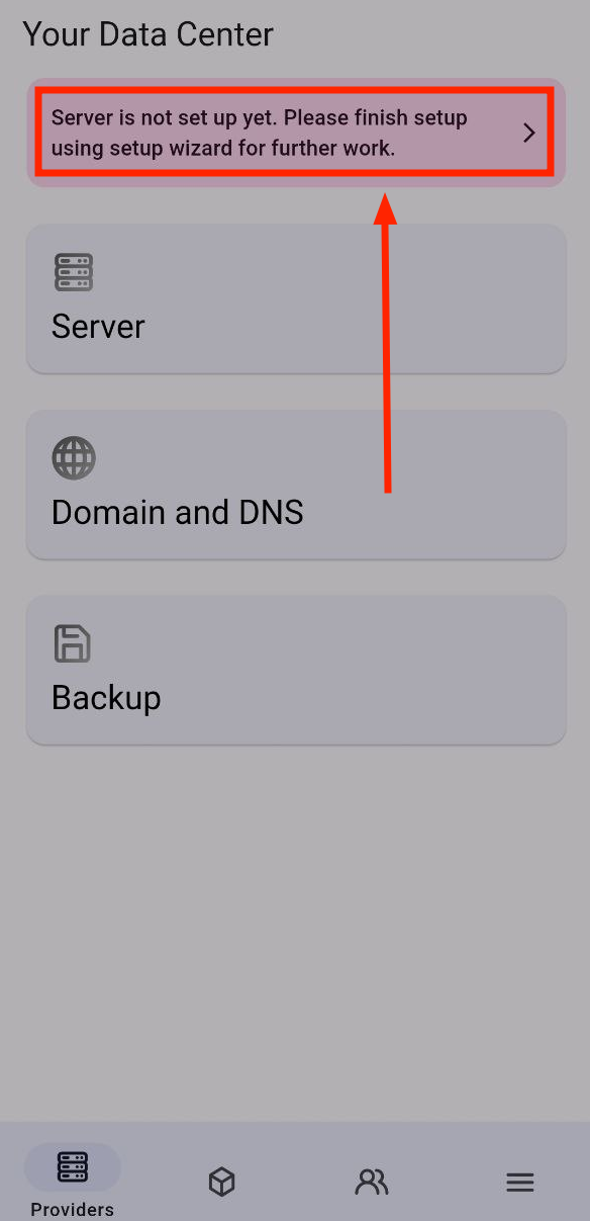
Now go to the “Setup Wizard” section where you configured your server when you first launched the application.
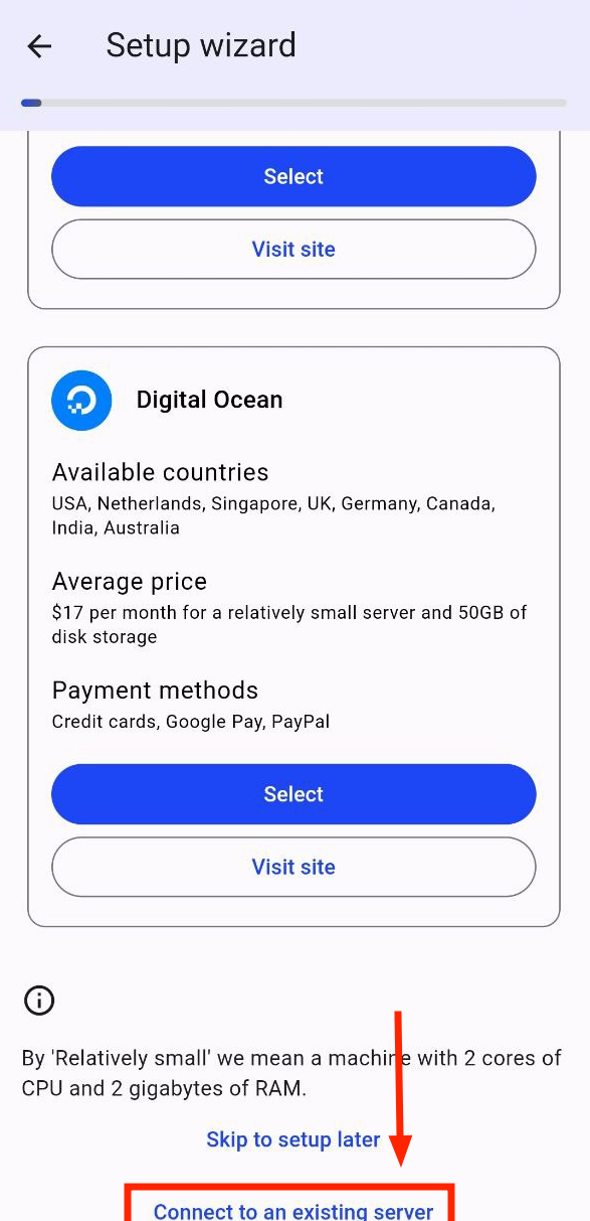
Tap “I already have a SelfPrivacy server!”.
(In the old version it might be called “Connect to an existing server”).
Next, follow the instructions in the app and enter the recovery key or code from another device where the SelfPrivacy app is installed.
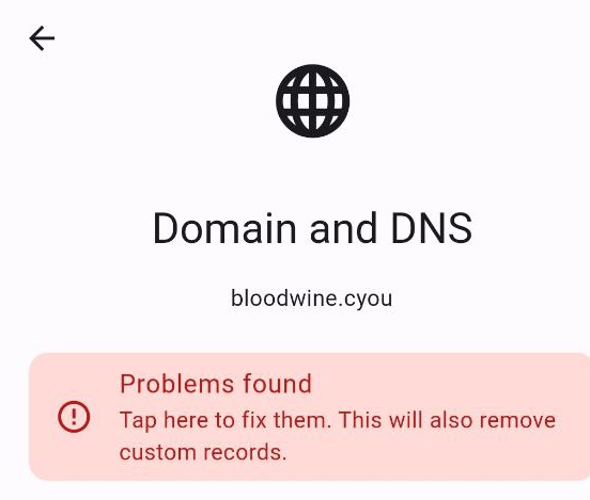
After installation, you will see some problems with Domain and DNS. The application will offer you to fix them. Accept the fixes.
Congratulations! You have successfully changed your domain provider. We recommend you to check that all services are working correctly.