This is the multi-page printable view of this section. Click here to print.
Available services
- 1: E-mail
- 2: Nextcloud
- 3: Forgejo
- 4: Delta.Chat
- 5: Jitsi
- 6: Mumble
- 7: Vikunja
- 8: Vaultwarden
1 - E-mail
E-mail is a time-tested protocol that needs no introduction. A personal mail server will provide special privacy for all correspondence and is useful for registering in online services and personal correspondence, especially for Delta.Chat.
Important! Provider may be blocking email sending.
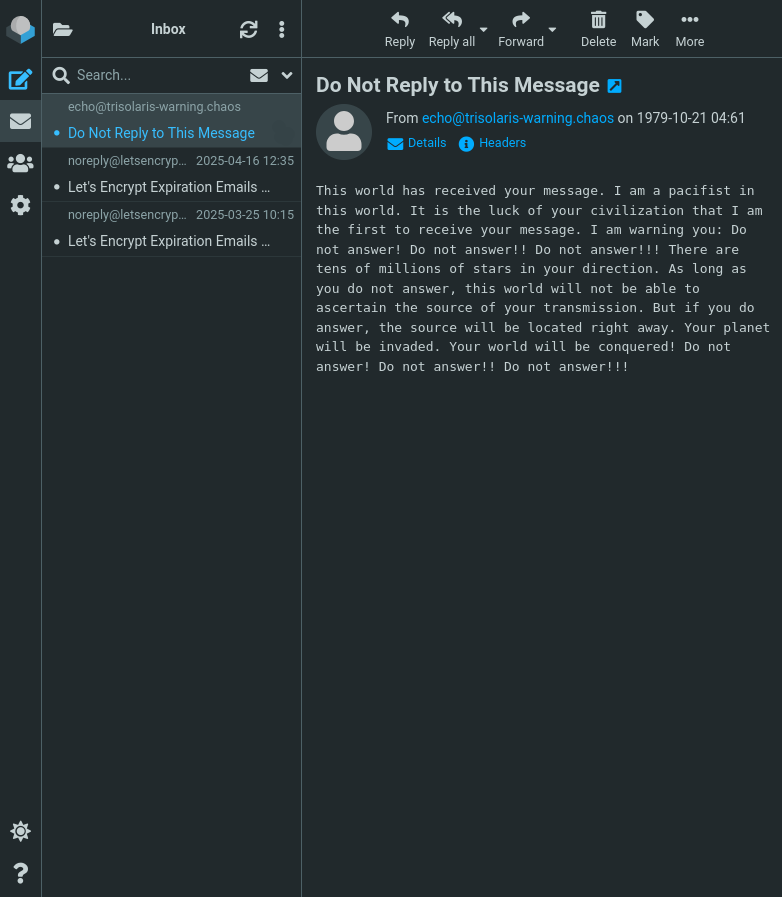
About SSO integration
- E-mail passwords management, with a quick setup button for Delta Chat availeble at
https://api.YOUR.DOMAIN. There will be a self-service portal for your users - To log in, use your full email address (including the domain) as your username
For details, what is SSO and how to use it?
Connection configuration
Login must the username with the domain. For example, user@domain.tld.
The email account password must be set separately on the following page: https://api.YOUR.DOMAIN.
Incoming server: IMAP
Protocol: IMAP
Hostname / IMAP Server: your.domain
Port / IMAP Port: 993
Connection security: SSL/TLS
Authentication method: Normal password
Username: your_username@your.domain (your full email address)
Outgoing server: SMTP
Hostname / SMTP Server: your.domain
Port / SMTP Port: 465
Connection security: SSL/TLS
Authentication method: Normal password
Username: your_username@your.domain (your full email address)
Recommended E-mail Clients
- WEB-interface “Roundcube”: can be enabled after setting up the SelfPrivacy server. It will be accessible at
https://roundcube.YOUR.DOMAIN(Use full email address as login:your_username@your.domain) - FairEmail (Android)
- Mozilla Thunderbird (GNU/Linux, Windows, MacOS)
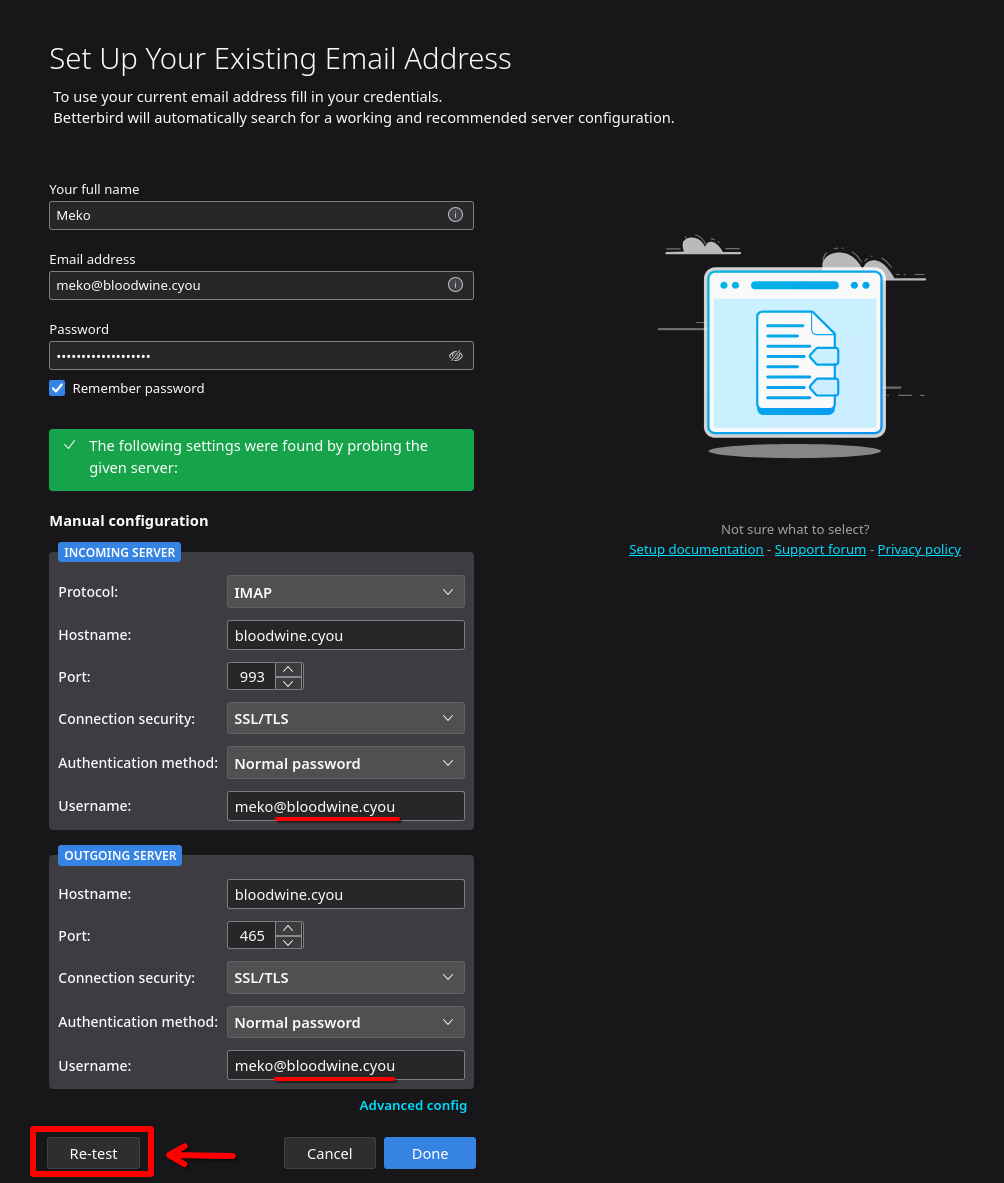
Configuration example for Mozilla Thunderbird. Don’t forget to click the “re-test” button after you have entered the correct configuration.
What do we use as our email server?
On the deployed server, the following components are responsible for sending, receiving, filtering emails:
- Postfix — SMTP server;
- Dovecot 2 — IMAP server;
- Rspamd — SPAM filter;
Tips
Alias for addresses
Use aliases for questionable services or one-time needs.
Messages for user+alias@domain.com will go to user@domain.com. It can be useful for spam origin analysis if a unique alias is used for each online service when registering.
For example, bank+user@domain.com, cryptoexchenge+user@domain.com, and so on.
Directory Filter
Create directories of filters for different purposes. This will help protect against phishing and clogging your inbox.
The message for user-dir@domain.com will create a dir directory in the user@domain.com mailbox and all mail will arrive in the dir directory.
Examples:
user-w@domain.com- for registering with web servicesuser-shops- for web-storesuser-pay- payment systemsuser-forum- forum notifications
Sending email does not work
Sending email may be blocked by your provider.
Hetzner responds that they do indeed block the email for new accounts. After one month of server operation and the first successful payment, Hetzner asks to contact support to clarify the reasons for using email. You may mention that you plan to use email to communicate with users of your services.
With DigitalOcean, you can’t send emails at all. They would tell you to use a third-party service like SendGrid as a relay. You can track the status of relay support in SelfPrivacy in the issue.
2 - Nextcloud
Nextcloud is a file storage, calendar, task manager, contacts, notes, music, gallery, and a whole bunch of other features, all with collaborative work functionality.
For servers created before 25.04.2025
When creating a server, `admin` Nextcloud user is created with the password you've used for your primary user.About SSO integration
- If the SSO account has the same username as an account previously created on Nextcloud, they will be merged. You will be able to log in using both SSO and old username/password. In other words, SSO becomes a secondary login method for these accounts.
- If you grant SSO account admin rights, it will have admin rights in Nextcloud
- SSO users with usernames that didn’t exist in Nextcloud before, won’t have an option to set a password in Nextcloud. In other words, SSO will be the only possible login method for these accounts
For details, what is SSO and how to use it?
Recommended clients
- WEB-interface: available after setting up the SelfPrivacy server, at
https://cloud.YOUR.DOMAIN - Official application (GNU/Linux, Windows, macOS, Android, iOS)
FAQ
Nextcloud Updater does not work
It’s fine, it should be. Nextcloud is updated via NixOS, and depends on our NixOS repository. Everything happens without your intervention.
Why can’t I use my Nextcloud in third-party services?
This can happen if the third-party service has a restriction to only connect to a specific Nextcloud instance.
Should I use an extension to encrypt my Nextcloud?
We do not recommend it. The encryption keys are stored on the server, which makes such encryption practically useless.
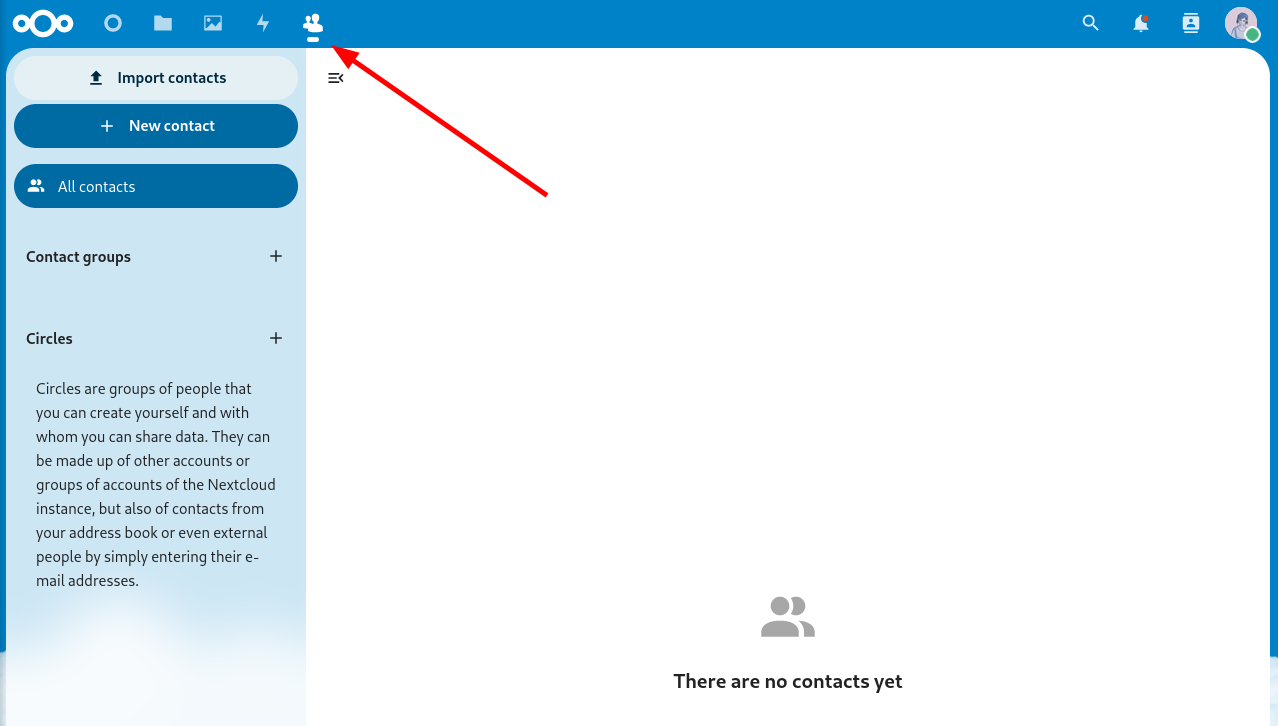
Adding Contacts
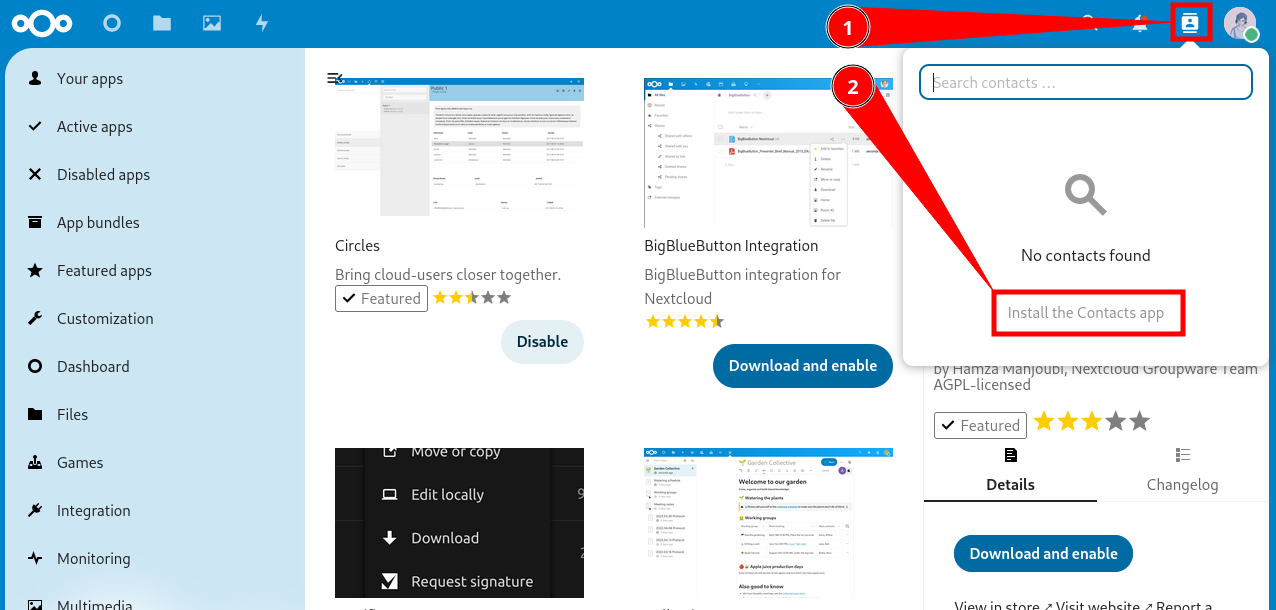
- Open your Nextcloud, click on the contacts icon in the top right corner. Then click on “Install the Contacts app”.
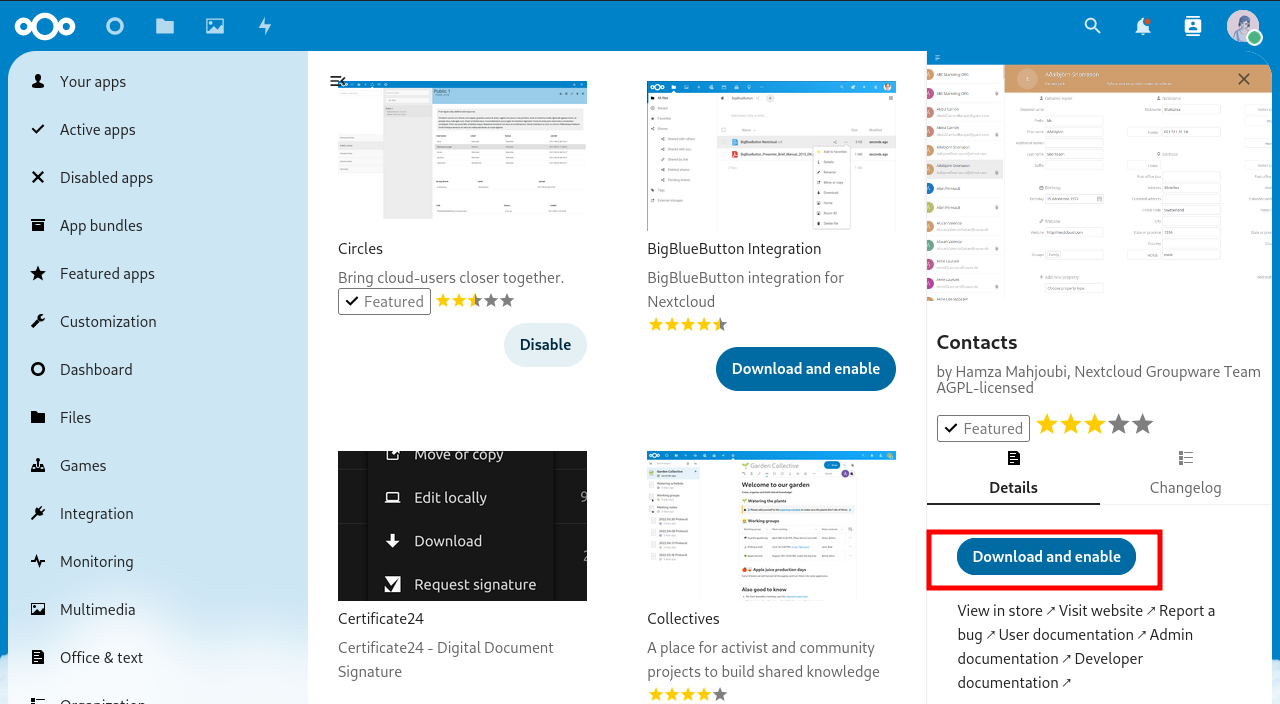
- Click “Download and enable”.
- Now you have a new item in the menu.
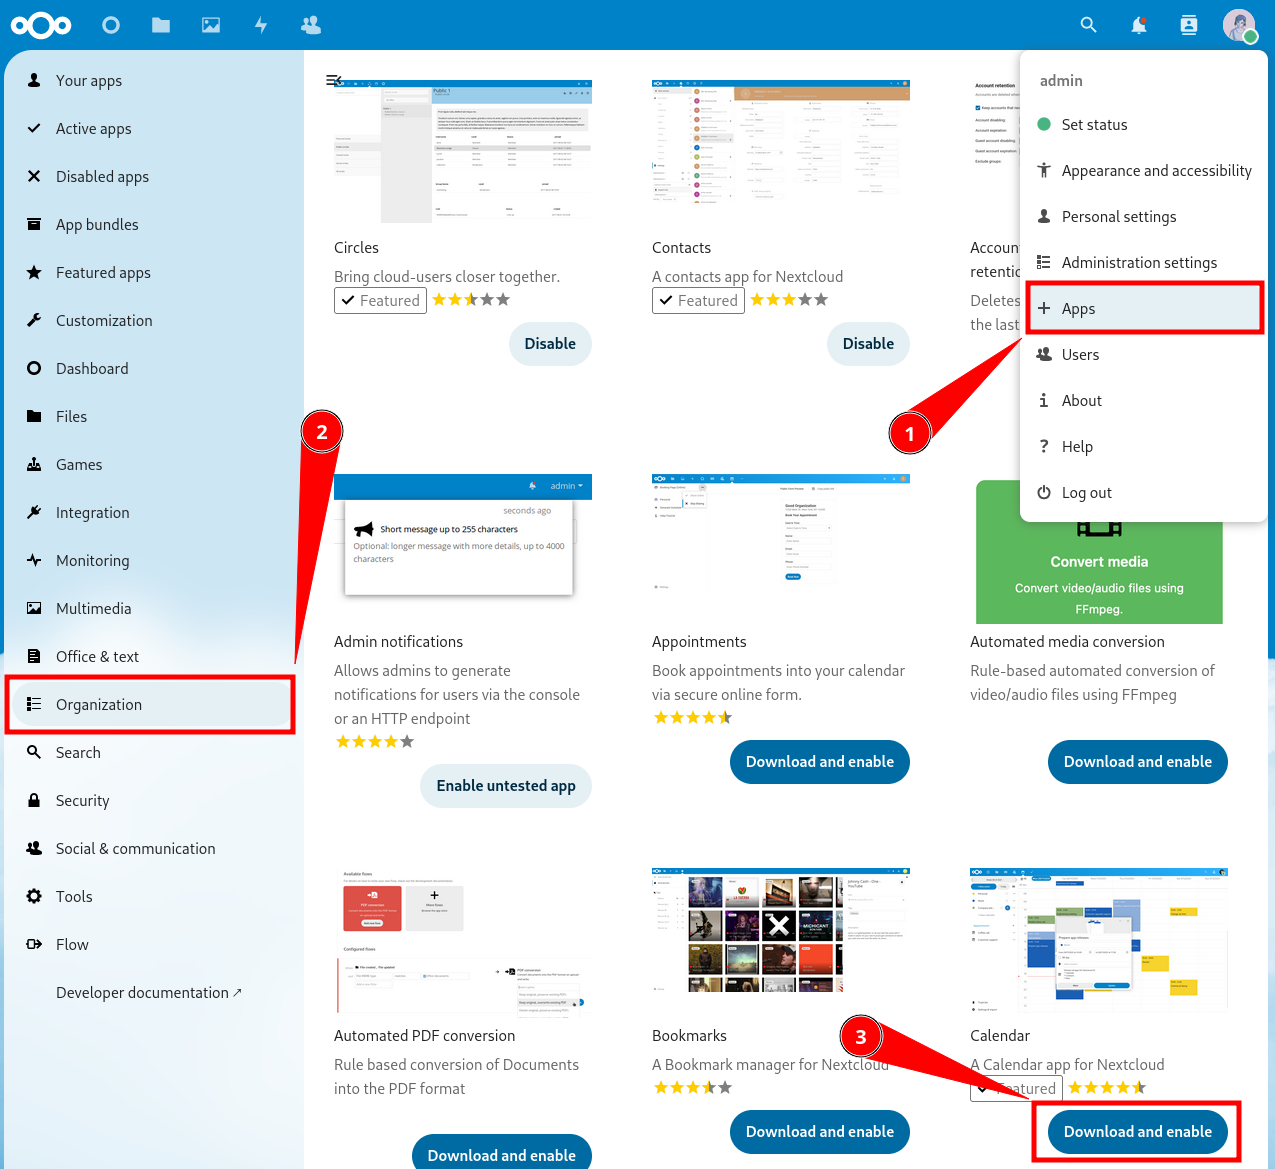
Adding Calendar
-
Click on your profile avatar in the top right corner.
-
In the dropdown menu, click “Apps”.
-
You will be taken to the app store, go to the “Organization” category and find the “Calendar” app.
-
Click “Download and enable”.
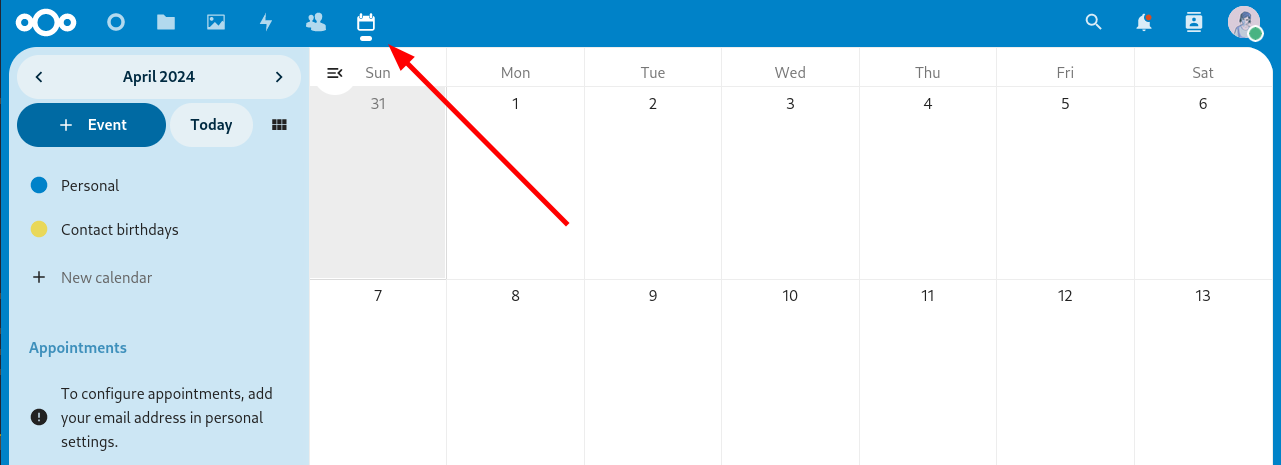
- You now have another new item in the menu.
Synchronizing Nextcloud Across Different Devices
Download the Nextcloud main app (GNU/Linux, Windows, macOS, Android, iOS). It will help you synchronize files.
How to set up synchronization for contacts and calendar? Instructions for different systems and applications.
-
Android — see below
How to Synchronize Nextcloud with an Android Smartphone?
-
Download the DAVx⁵ app on your Android device from F-Droid or the Google Play Store.
-
Open the app, and create a new account by tapping the “plus” button.
-
In the account creation menu, select the last option “Nextcloud”.
-
The app will prompt you to enter the URL of your Nextcloud instance. The URL should look like:
https://cloud.YOUR.DOMAIN. -
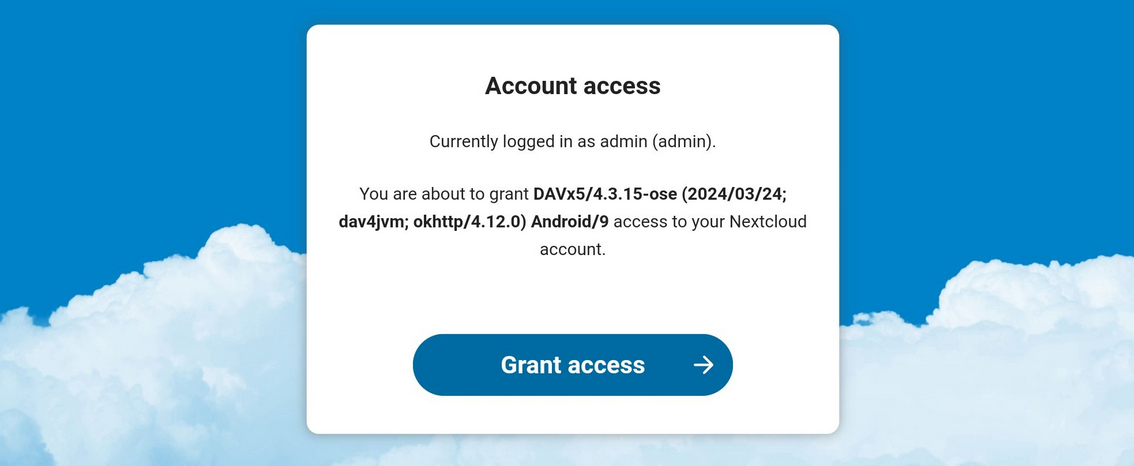
A browser will open. You need to log into your Nextcloud account and grant access.
-
Return to the DAVx⁵ app. For the name, enter the email address registered in your Nextcloud account settings.
-
In the “Contact group method” section, choose “Groups are categories of contacts”.
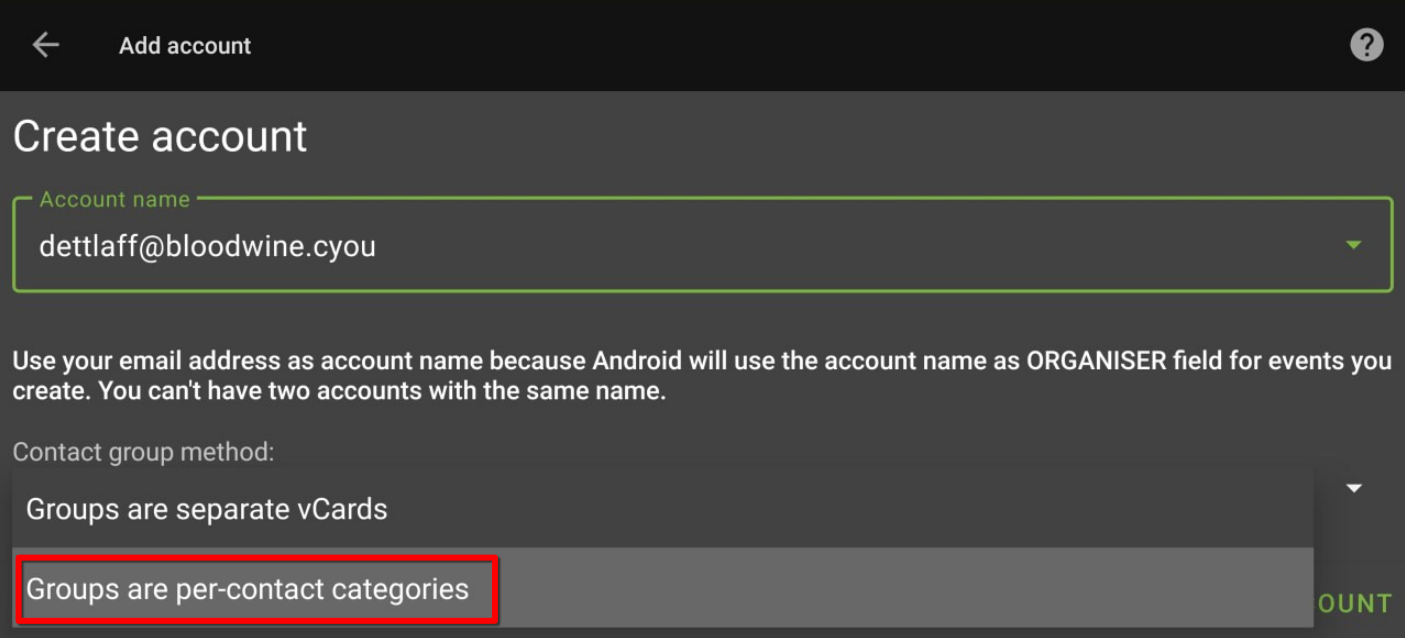
- Select the data you want to synchronize.
3 - Forgejo
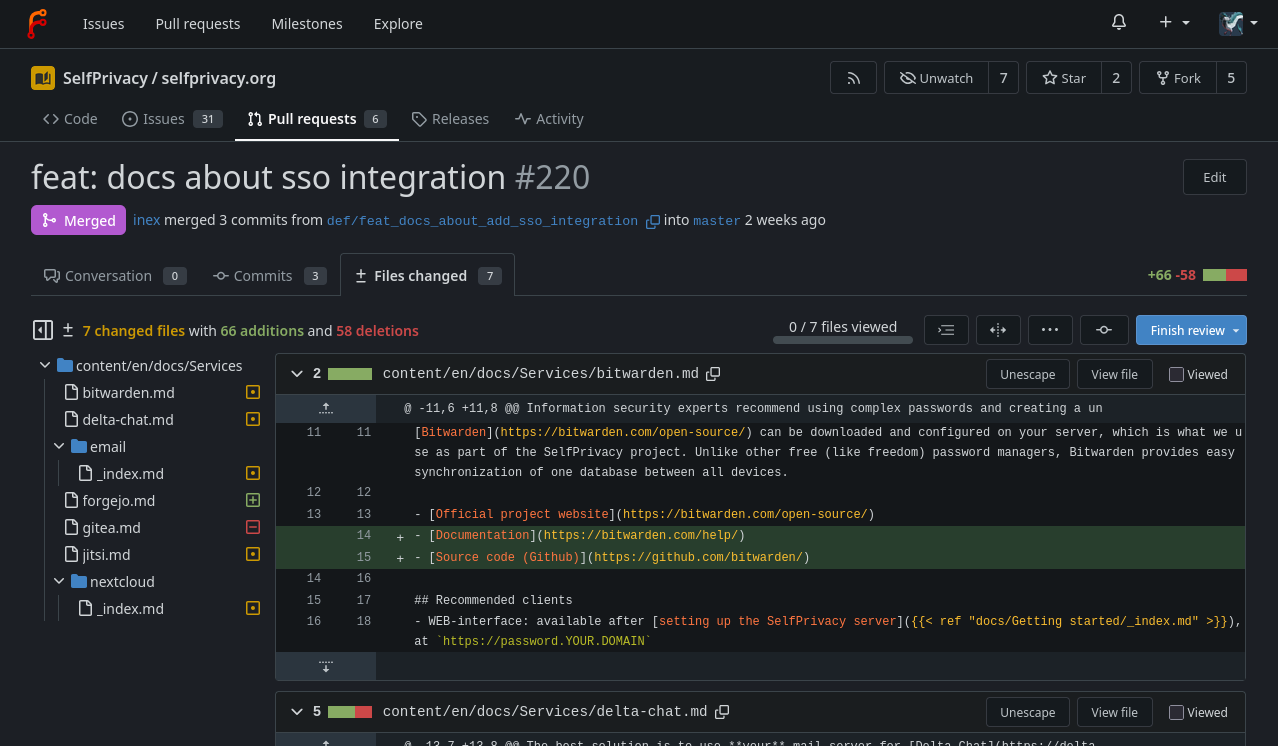
Forgejo is a collaboration platform for Git repositories with a web GUI.
Git is a feature-rich version control system that tracks changes in code and text files over time, widely used by programmers. For details, see what is Git?
For servers created before 25.04.2025
Be careful, the first account registered on your instance, gets admin rights.About SSO integration
- Users can only log in via SSO
- Old accounts can still be accessed if you create a SSO user with the same username
- If an SSO account is granted admin rights, it will also have admin rights in Forgejo
For details, what is SSO and how to use it?
Recommended clients
- WEB-interface: available after setting up the SelfPrivacy server, at
https://git.YOUR.DOMAIN - Official console git client (GNU/Linux, Windows, macOS, *unix)
If you want a client with a graphical interface, you can choose it from list of recommendations on the official website.
4 - Delta.Chat
Delta.Chat is a messenger based on the email protocol.
Delta.Chat will use your mail server set up by SelfPrivacy. If your conversation partner doesn’t use Delta.Chat, it will be just an ordinary email correspondence for him.
Recommended clients
- Official client (GNU/Linux, Android, Windows, macOS, iOS)
Features of Delta.Chat
- Regular email client with all the features of IM.
- Reliable end-to-end encryption (e2e), provided a personal email server is used by both interlocutors or a personal key exchange, such as via QR code.
- Can use any email server, but then you lose control over the meta-information and risk key-swapping man-in-the-middle attack.
- Slightly slower than usual messengers
- First message is not encrypted because public encryption keys are sent with it.
- There are problems with sending files > 5-7MB.
- There are no convenient channels (chats for mass discussions and sending out information).
5 - Jitsi
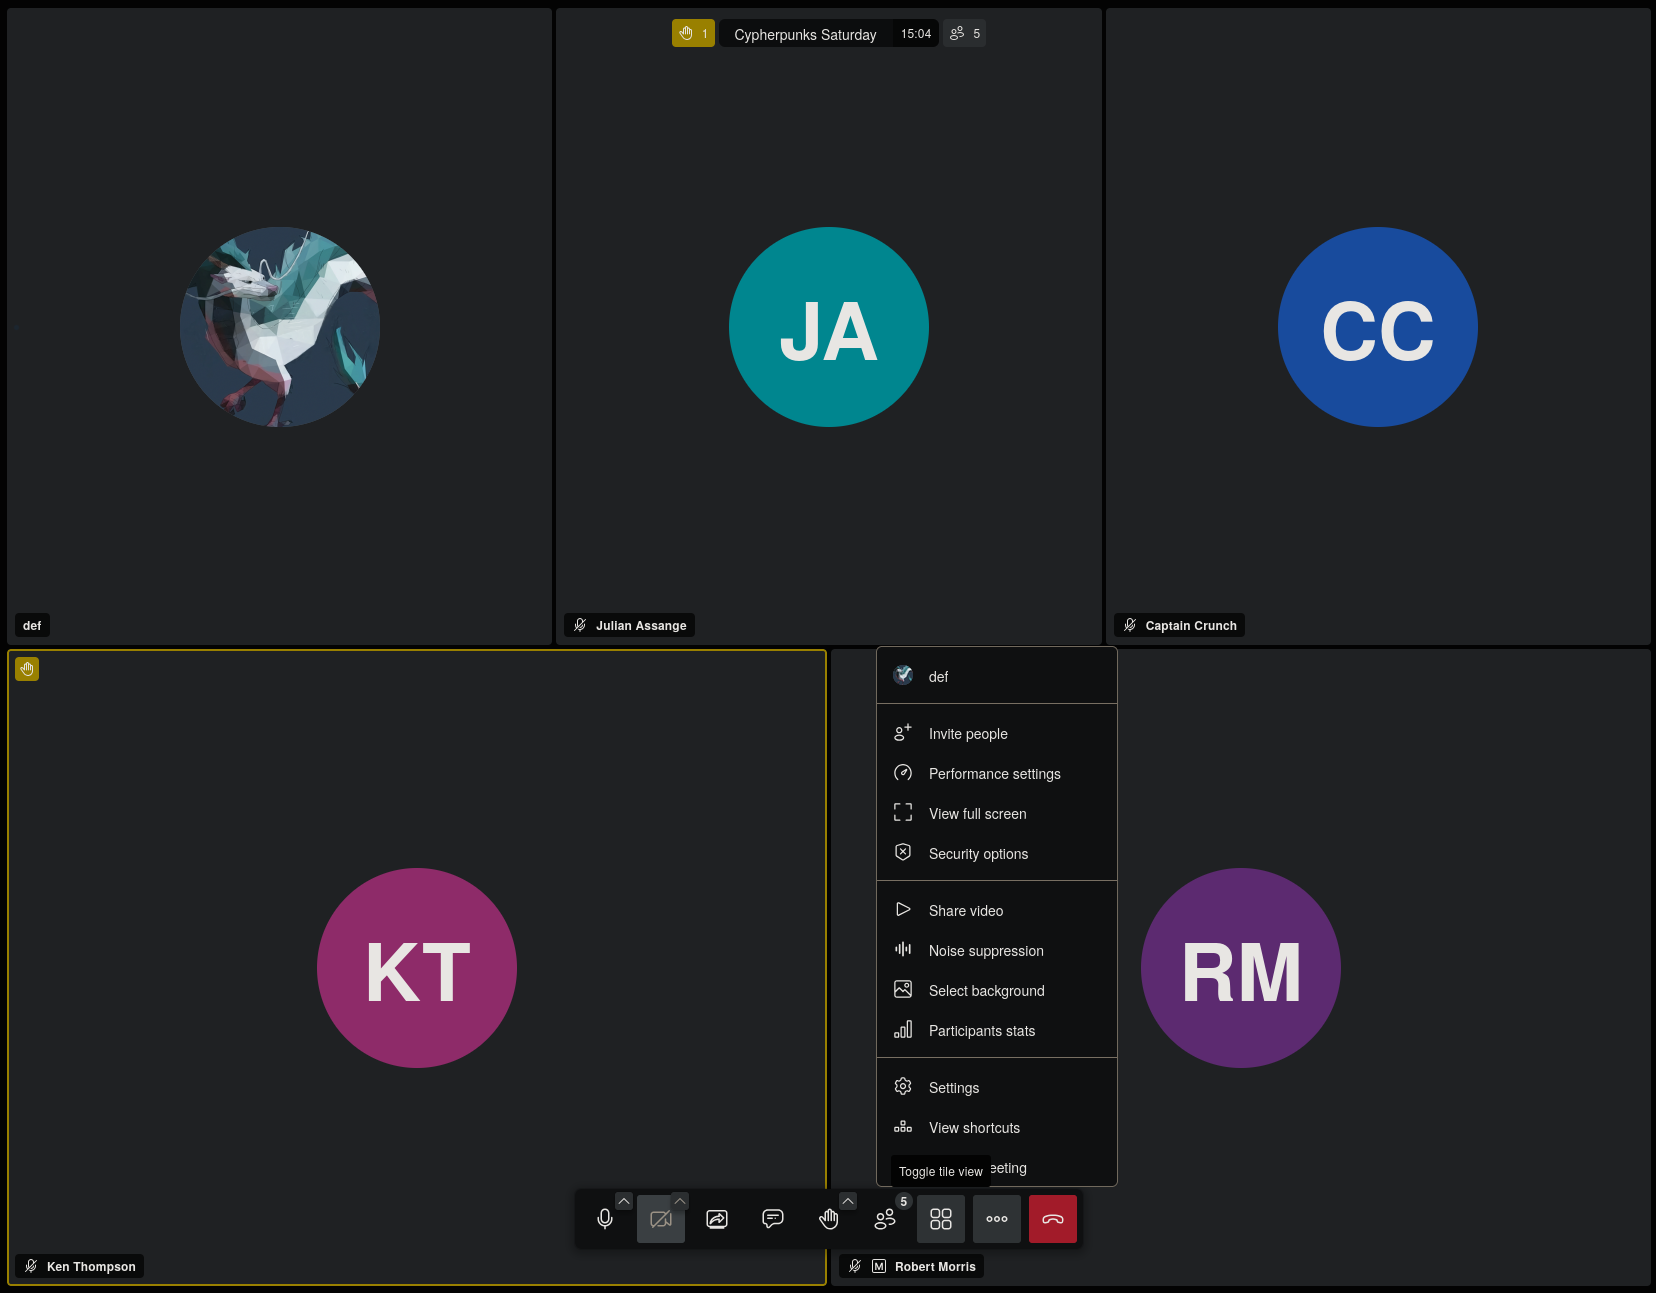
Jitsi is an open source videoconferencing service.
It is similar to proprietary services like Google Meet or Zoom, but unlike them, it does not have limitations in its free version.
Recommended official clients
-
WEB-interface: available after setting up the SelfPrivacy server, at
https://meet.YOUR.DOMAIN. -
Also see the builds in your distribution’s repositories.
Features of Jitsi
- Does not require registration;
- Uses avatar from gravatar.com if you specify mail (may violate privacy!);
6 - Mumble
Mumble is an open-source, low-latency voice-chat platform designed for clear, real-time communication.
Mumble uses the Opus codec and an efficient UDP protocol to deliver high-quality audio with minimal delay, even on slow connections.
It supports nested channels with fine-grained ACLs, positional audio for supported games, and automatic volume leveling to keep every participant equally audible. All traffic between client and server is protected by end-to-end encryption. An in-game overlay shows who is talking inside fullscreen games.
How to connect?
Use your domain name as the server address. The port is the default: 64738.
Recommended clients
- Official client (GNU/Linux, Windows, macOS, iOS)
- Third party client: Mumla (Android)
7 - Vikunja
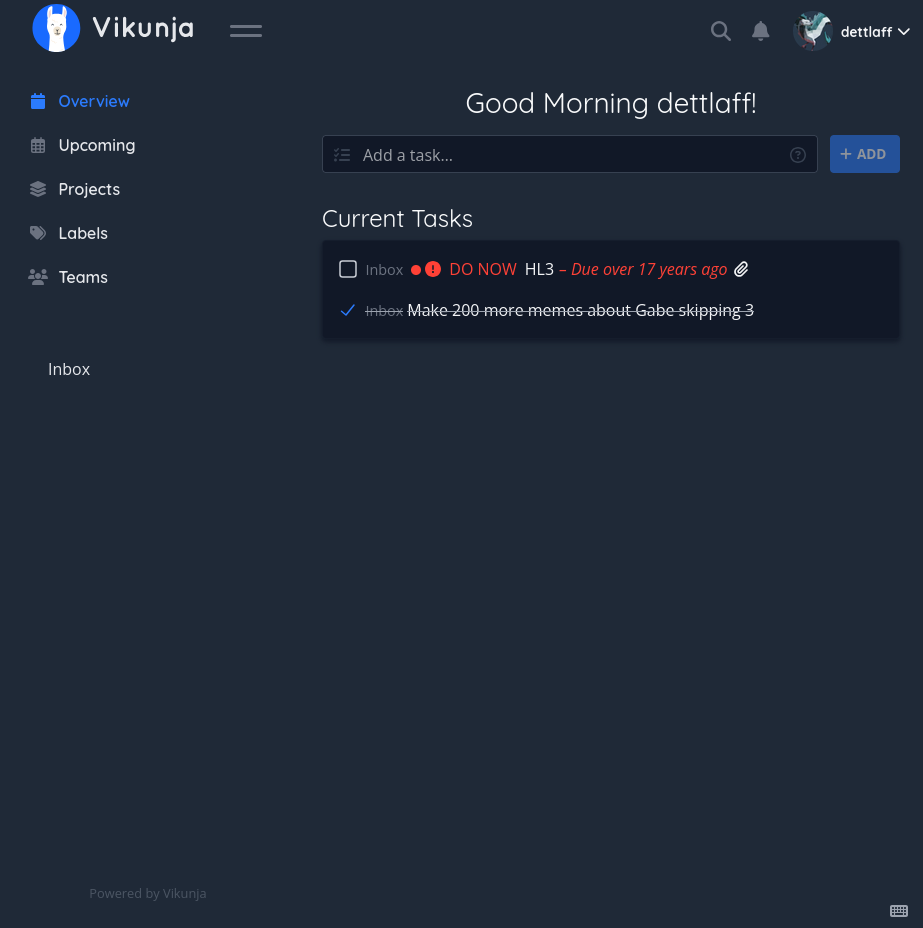
Vikunja is an open-source task management platform.
Vikunja supports hierarchical organization of projects with subprojects and offers four ways to display tasks — a classic list, a Gantt chart, and a Kanban board.
In addition to core features like due-date reminders and recurring tasks, it provides the ability to split tasks into subtasks, assign labels, save filters, link tasks via relations, and CalDAV integration for calendar synchronization.
About SSO integration
- Users can only log in via SSO
For details, what is SSO and how to use it?
Recommended clients
- WEB-interface: Accessible after installation at
https://vikunja.YOUR.DOMAIN - Tasks.org: Android app that can sync with Vikunja via CalDAV
8 - Vaultwarden
Vaultwarden is a password manager with end-to-end encryption and multi-device synchronization. Written as a free (as freedom) alternative backend server for Bitwarden clients.
Why you need to use password manager?
Information security experts recommend using complex passwords and creating a unique one for each account. Even three or four passwords are difficult to remember, so people often use the same password or similar ones. A password manager solves this problem: it generates complex passwords and stores them in a convenient form. It can also be used with automatic password filling via a browser extension.
Why Vaultwarden server and Bitwarden clients?
There is a popular password manager called Bitwarden. The Bitwarden team develops the server and clients. Bitwarden’s server code is not free software; its source is available. What the difference?. Moreover, many useful features such as item sharing with more than two users, advanced two-factor authentication options, and organization management are only available on the paid tiers.
That’s why we use an alternative server implementation called Vaultwarden. You can use Bitwarden clients with Vaultwarden server without any issues.
Vaultwarden                          Bitwarden
    ||                                   ||
    \/                                   \/
  Server (SelfPrivacy instance) <--> Clients (Mobile app, Desktop)
Recommended clients
- WEB-interface: available after setting up the SelfPrivacy server, at
https://password.YOUR.DOMAIN - Official Bitwarden clients (GNU/Linux, Windows, macOS, Android, iOS)
Setting an admin token manually
All commands in this guide are executed as root over SSH. If you do not have root access, see this guide for more information.
First, we have to generate an admin token. Run the following:
nix-shell -p openssl --run 'openssl rand -base64 48'
It will output a string like this:
47pFSgYBbS0G0vCG63nX1yyblzgNaqZ40bNuJnwq2hvOy8ABfe+iHRfBeXlfrRdJ
This will be a password to your admin account. Copy it and paste it somewhere safe. To set it, we will run the following, replacing PASSWORD with the password you just generated:
jq '.bitwarden.adminToken = "PASSWORD"' /etc/selfprivacy/secrets.json > /etc/selfprivacy/secrets.json.new && mv /etc/selfprivacy/secrets.json.new /etc/selfprivacy/secrets.json
Now, we have to apply the changes. To do this, press “Upgrade server” in your app. After the upgrade is complete, restart Bitwarden using the app.
Now, your admin interface is available on https://password.YOUR.DOMAIN/admin.